


How I technically didn't set up Mailgun to send emails
How to setup Mailgun to send your emails
Once you've set up your domain to direct internet users to your blog application, the next crucial step is to keep your visitors informed about new posts. This is where the power of email comes in, the same system that was initially used to send messages between connected computers on the ARPANET system. If, like me, you value efficiency and prefer not to reinvent the wheel when there's already a robust infrastructure in place, you might have considered email service providers.
After looking at some, and since I had contacted Mailgun in the past, I decided to give it a try and check pricing on their website. Considering my current email volume needs, which are low, I found the free Mailgun option to be a viable choice. It allows me to send up to 5000 emails monthly, which suits my needs. With this in mind, I wasted no time and started setting up Mailgun on my domain. But oh, should I have wasted some time ...
I created a domain hosted in the EU region in my Mailgun dashboard, then configured all necessary DNS records in my domain's DNS settings. After adding all the necessary credentials to my app, I was still unable to send emails through my platform. This was strange, so I quickly tested connecting to the Mailgun SMTP server to send an email and found out why I couldn't send emails.
./swaks --auth \
  --server smtp.eu.mailgun.org \
  --au [email protected] \
  --ap my_doman_default_password \
  --to [email protected] \
  --h-Subject: "Hello" \
  --body 'There!'
This was the result:
=== Trying smtp.eu.mailgun.org:25...
=== Connected to smtp.eu.mailgun.org.
<-  220 Mailgun Influx ready
 -> EHLO antonioeloi-toaster.home
<-  250-825391321adb
<-  250-AUTH PLAIN LOGIN
<-  250-SIZE 52428800
<-  250-8BITMIME
<-  250-SMTPUTF8
<-  250-PIPELINING
<-  250 STARTTLS
 -> AUTH LOGIN
<-  334 VXWUUGQ6Wm56
 -> ckzyMj9zWZhc3RlckzkODdlsLmFudG9uaW9lbG9pLYzIY2g=
<-  334 UGFVXNlcm5Q6
 -> OWZjNGIyMjlhYzg3YjhkODdlZjI3ODUWZjZh9uaW9lmQ4YWYtMjE3NWNjYzItMWM2YjA5NGY=
<-  235 Authentication successful
 -> MAIL FROM:<antonioeloi@my_toaster.home>
<-  250 Sender address accepted
 -> RCPT TO:<[email protected]>
<-  250 Recipient address accepted
 -> DATA
<** 421 Domain mail.antonioeloi.tech is not allowed to send: Free accounts are for test purposes only. Please upgrade or add the address to authorized recipients in Account Settings.
 -> QUIT
<-  221 See you later. Yours truly, Mailgun
=== Connection closed with remote host.
Note on the error:
421 Domain mail.antonioeloi.tech is not allowed to send: Free accounts are for test purposes only. Please upgrade or add the address to authorized recipients in Account Settings.
I miss the information about free accounts. Only after checking a couple of pages did I understand that Mailgun is not what it used to be. It's not valuable for me at the time, I wanted a free tier but the free tier is just a tier for trial experiments.
Since not all is bad I still want to share the steps to set up Mailgun, focusing on the DNS changes.
Quick Guide to Setup Mailgun
Add your new Domain
Visit Sending > Domains and click on Add a new domain on the top right.
Here, write your domain name and region. It's recommended that you use a subdomain, so I recommend you use mail.yourdomain.com.
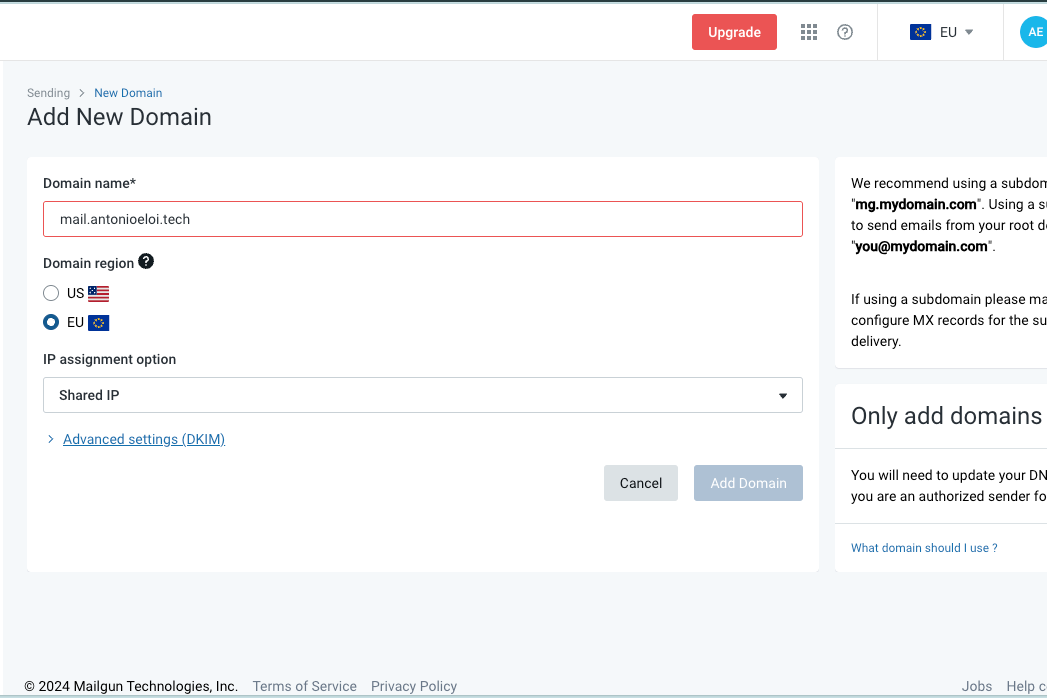
Upon submitting the form, you will be directed to a page with instructions on how to verify your new subdomain. If you use popular providers such as Cloudflare, Google Domains, or DigitalOcean, Mailgun offers a focused tutorial for those as well.

Setup the Sending records
Now you should setup your sending records. These two TXT records are required to send and receive emails with Mailgun.

Setup the Receiving records
Now you should setup your receiving records. This MX record specifies the mail server responsible for accepting email messages on behalf of a domain name.

Setup the Tracking records
Now you should setup your tracking records to enable tracking, interaction and unsubscribes, all features important in a newsletter.
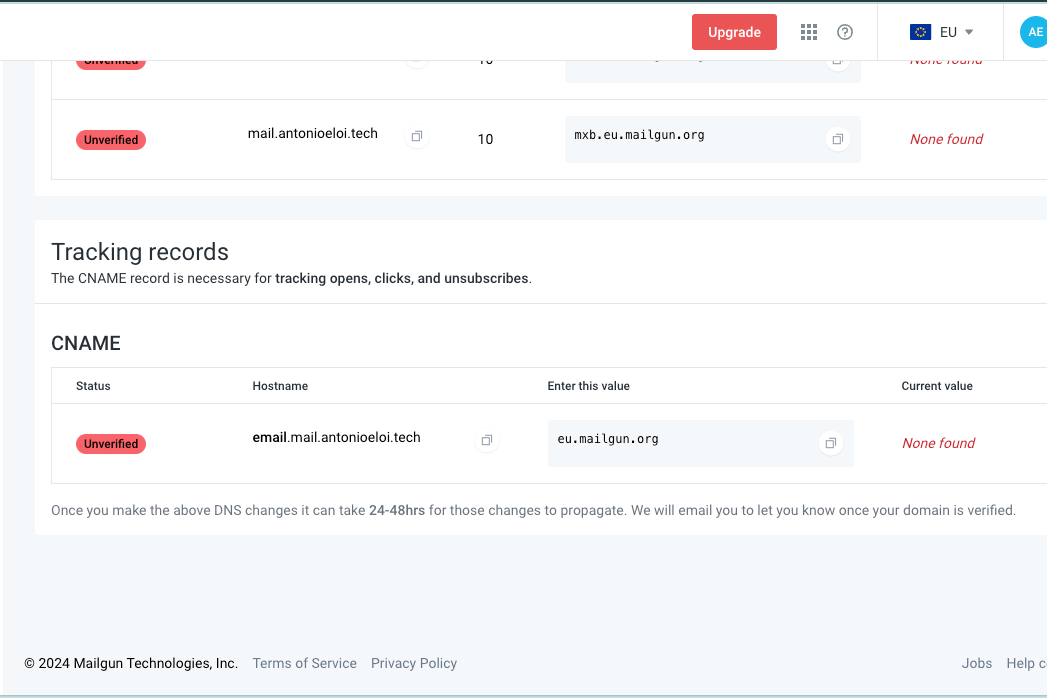
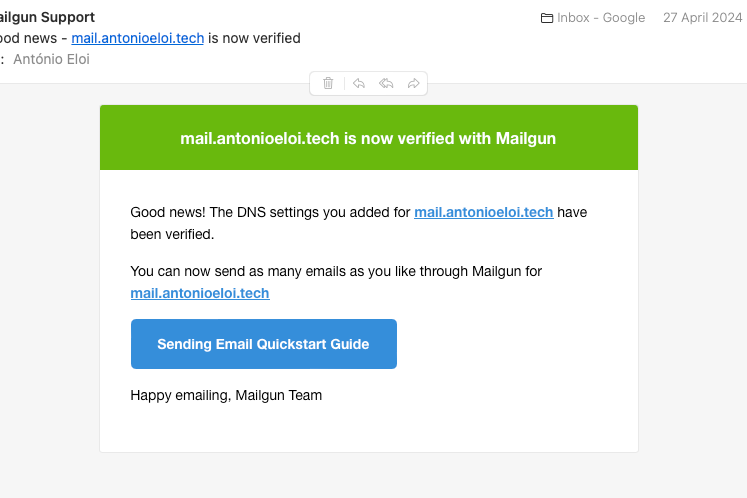
After you make the above DNS changes, it can take 24-48 hours for those changes to propagate. Mailgun will email you to let you know once your domain is verified.
You will receive an email just like this:
If you are impatient, you can always click on the Verify DNS records button on the top of the Mailgun overview page.
If all is set up, you will see a page like this:

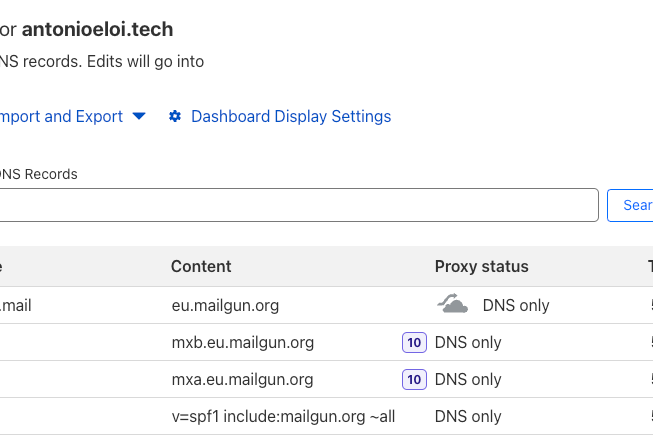
If you also use Cloudflare as your provider you will have set up only the following DNS records:
And this is how you can technically not set up Mailgun to send emails with a free tier.
About António Eloi

I'm a software engineer based in Portugal with over 7 years of web development experience. I'm passionate about creating software that solves real-world problems and enhances people's lives. Over the years, I have worked both in-office and remotely with individuals from various countries, time zones, and cultures, allowing me to develop strong communication and collaboration skills. Currently, I am part of a great team called Park where we bring solutions to campground management that is both simple and free.
